These one-pot chewy, sweet Chocolate Peanut Butter Rice Krispie Treats are quick to make in just 15 minutes with pantry ingredients! Rice Crispy or Crispix cereal is mixed with peanut butter, marshmallows, and Nutella for true decadence in each bite. Be sure to make extra, this foolproof treat is a family favorite.
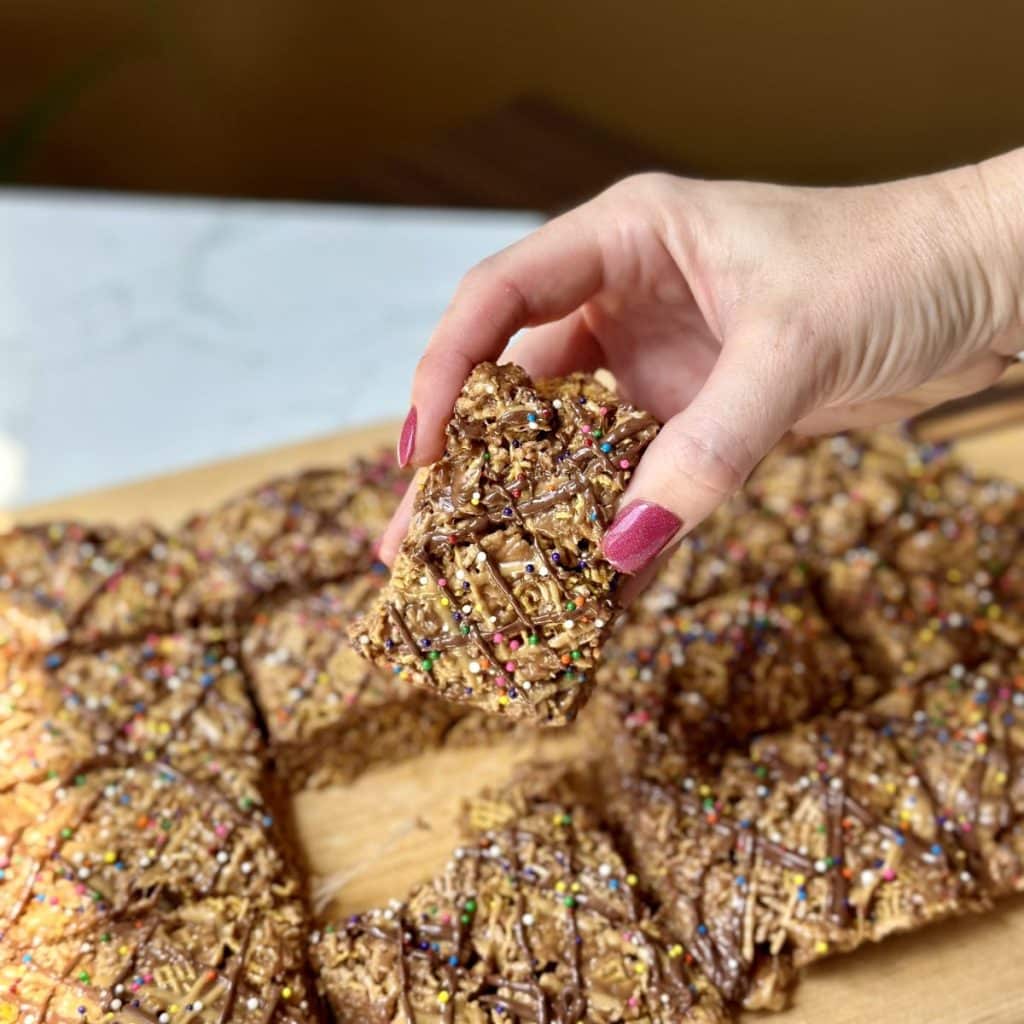
These amazing peanut butter and chocolate rice krispie treats are a go-to easy snack or dessert fix! They’re incredibly easy to make with just six ingredients, and they can be whipped up in just 15 minutes using only one pot. All you need are a few simple ingredients.
I like to make these treats using Crispix cereal rather than Rice Krispies for a little extra crunch, but you are also welcome to use Rice Krispies. Plus my secret chocolate ingredient is Nutella (everyone's favorite) rather than just plain old chocolate. I have a delicious super chocolate rice krispie treat, try my hot chocolate rice krispie treats too, you won't be disappointed.
Save The Recipe!
Add your email below and we’ll send it straight to your inbox+ you’ll receive all our newest recipes!
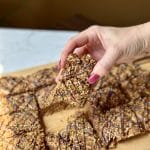
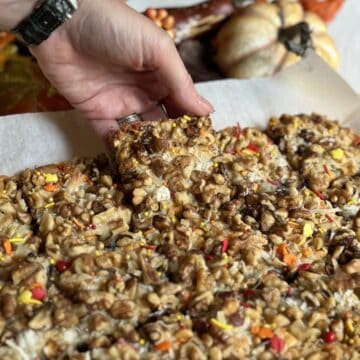
Peanut Butter Hazelnut Treats are a sweet treat everyone loves. They’re my favorite treat to make for visiting guests, for a get-together or as a gift. They have a great crunch, chewy texture and are perfectly sweet! Add sprinkles on top for a pop of color and fun! This no bake dessert recipe is definitely one for the chocolate peanut butter lovers!
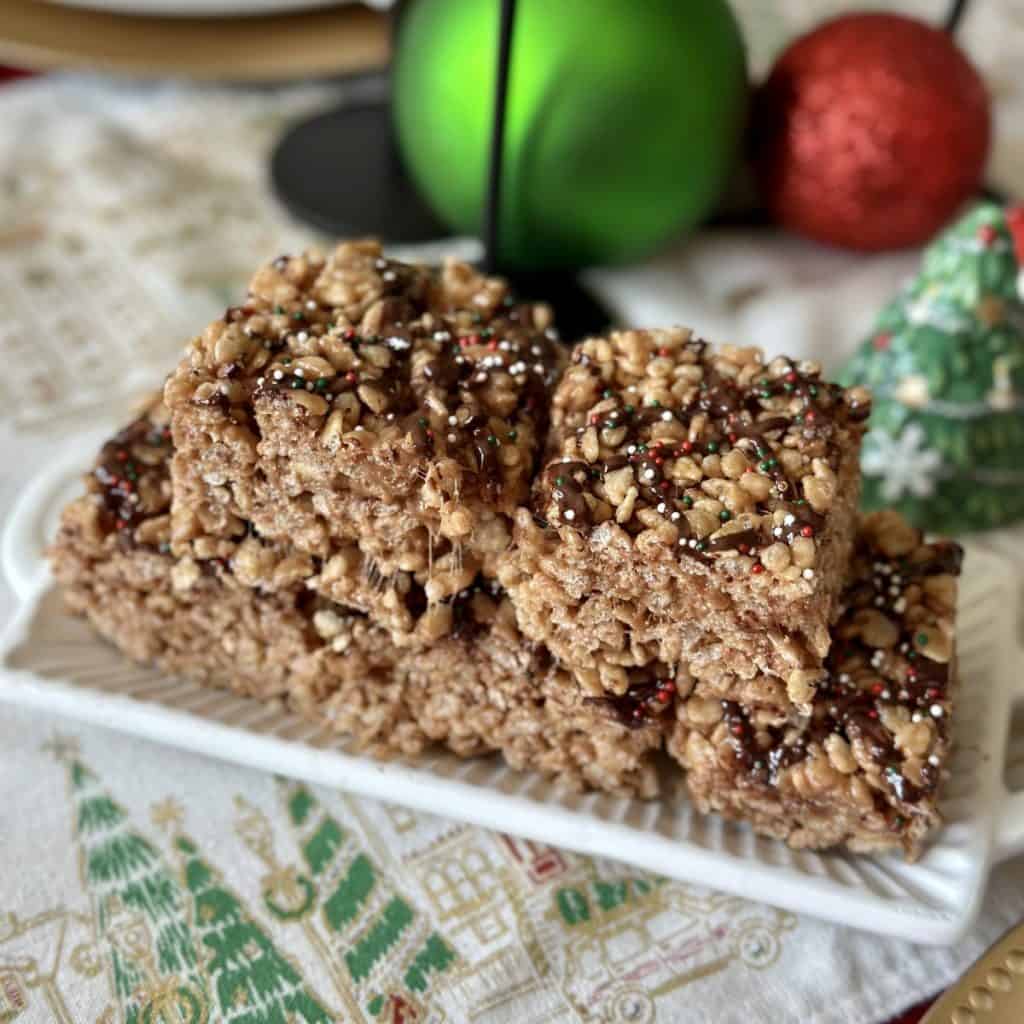
Table of Contents
Why You’ll Like This Recipe
- Sweet Treat Satisfaction: They’re absolutely scrumptious! The sweetness of hazelnut spread, savoriness of the peanut butter along with the marshmallow ooey gooieness of the crispy rice cereal makes these the perfect treat!
- Perfect For Every Holiday or Special Occasion: You can coordinate sprinkles with whatever you’re celebrating!
- Long Lasting: At their best quality, chocolate and peanut butter rice crispy treats can be stored at room temperature up to 2 weeks making them an excellent make-ahead, no bake treat that can be enjoyed for a longer amount of time.
- Quick and Simple Recipe: A no-bake treat with only 6 ingredients and 20 minutes make, they're a super easy recipe to make for a last minute special occasion or sweet treat craving quench!
Ingredients
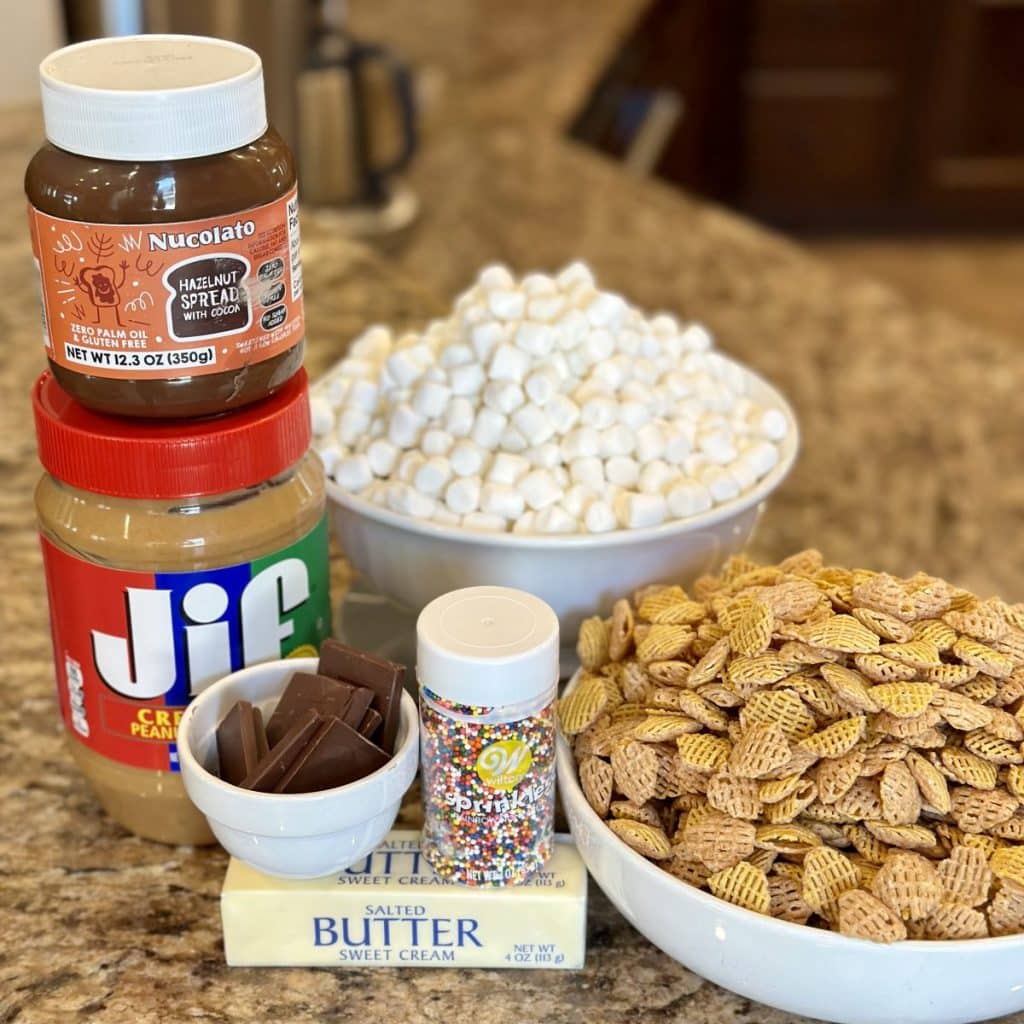
The best part of this recipe is it has only six ingredients! Many of them are also already in your kitchen.
Ingredient Amounts Listed in the Recipe Card Below
- Butter: Contributes a rich and savory flavor and adds a smooth and velvety texture to the mixture.
- Marshmallows: Acts as a binder, holding the treats together. They create the chewy, gooey texture.
- Peanut Butter: Adds a nutty flavor and creaminess. It also helps bind the ingredients together.
- Hazelnut Spread: Adds a decadent chocolate-hazelnut flavor to the treats, creating a delicious contrast to the peanut butter. It also contributes moisture to the mixture, preventing the treats from becoming too dry and adding to their fudgy consistency.
- Cereal: Crispix, Rice Krispie cereal, or Chex Crisp Rice Cereal provides the signature crispy texture to the treats. It adds crunch and lightness to contrast with the other ingredients.
- Milk Chocolate: Adds a layer of chocolatey richness and sweetness. It serves as a base for sprinkles to stick to (if using).
- Sprinkles (optional): To your krispy treats, add sprinkles for a pop of color and way to commemorate a holiday or special occasion.
Tools You’ll Need
How to Make Chocolate Peanut Butter Rice Krispie Treats
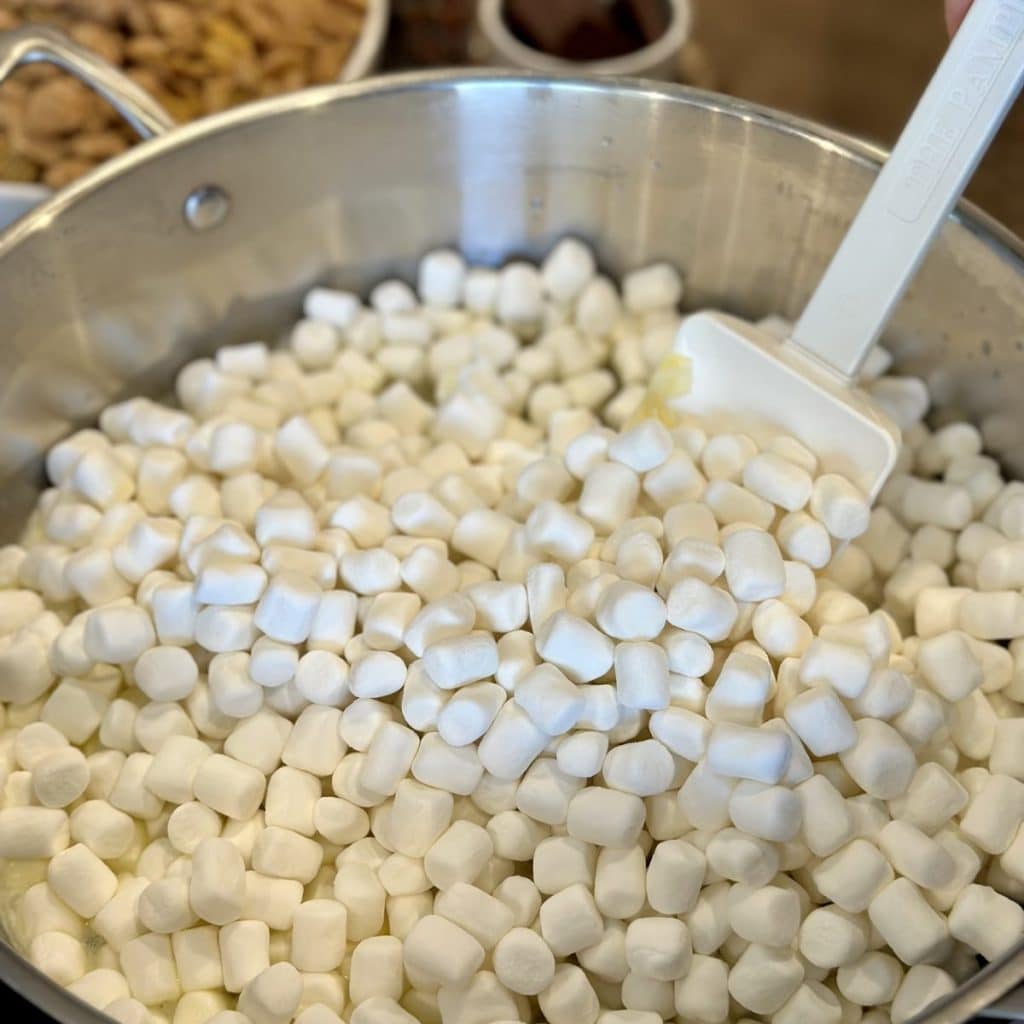
- In a large skillet, melt butter over medium heat. Once melted, add mini marshmallows and stir until melted and smooth.
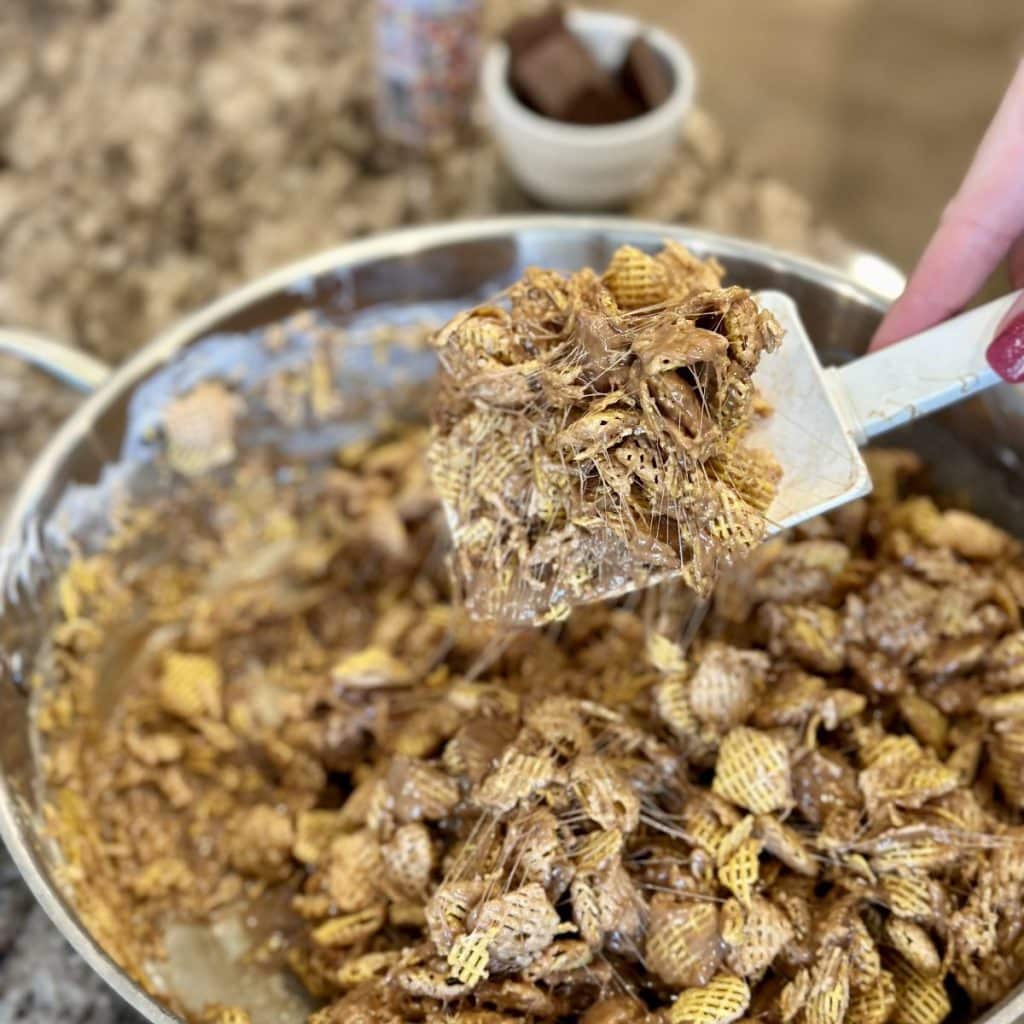
- Turn off the heat. Fold the peanut butter and the hazelnut spread into the marshmallow mixture, making sure to scrape from the bottom of the pan. Once combined, gently fold the cereal into the peanut butter mixture until all the pieces are coated.
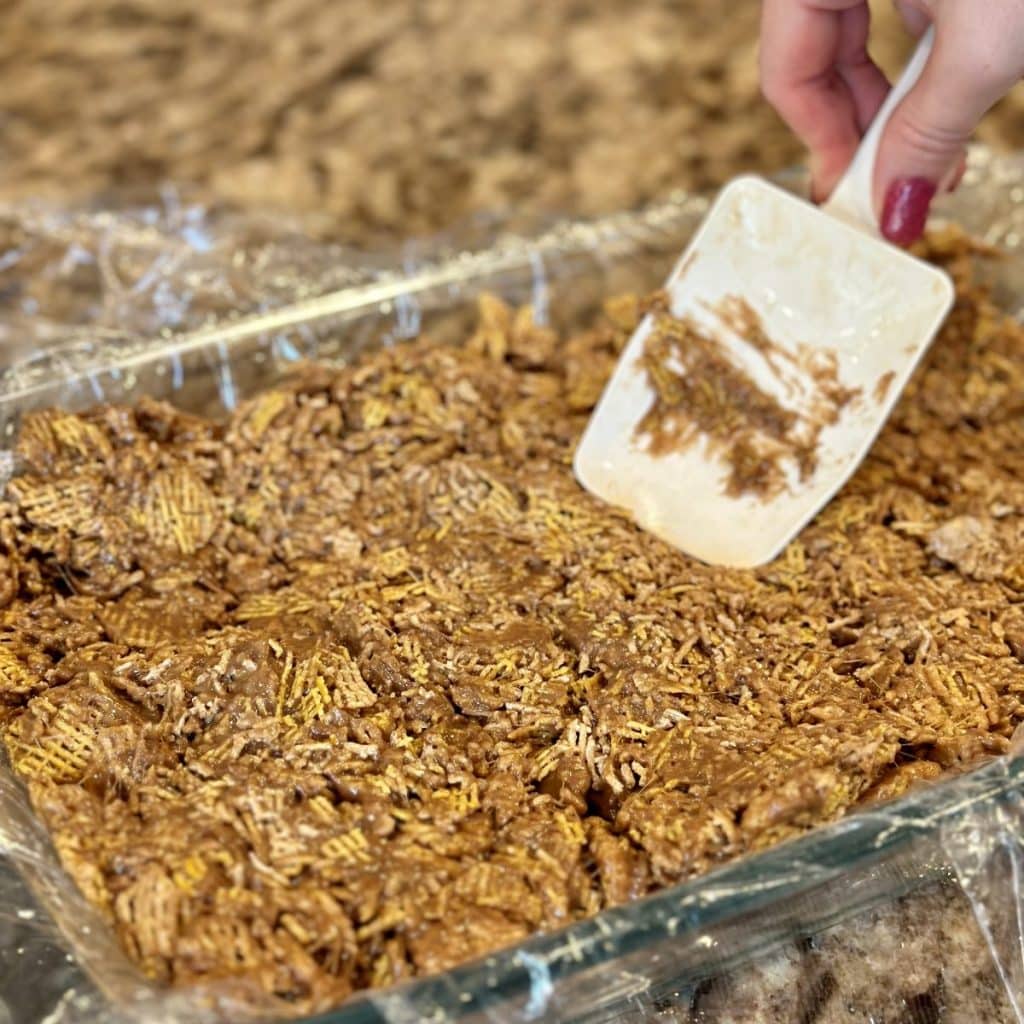
- Line a 9”x13” dish with cling wrap or parchment paper. Transfer the mixture to the prepared pan, and press in an even layer.
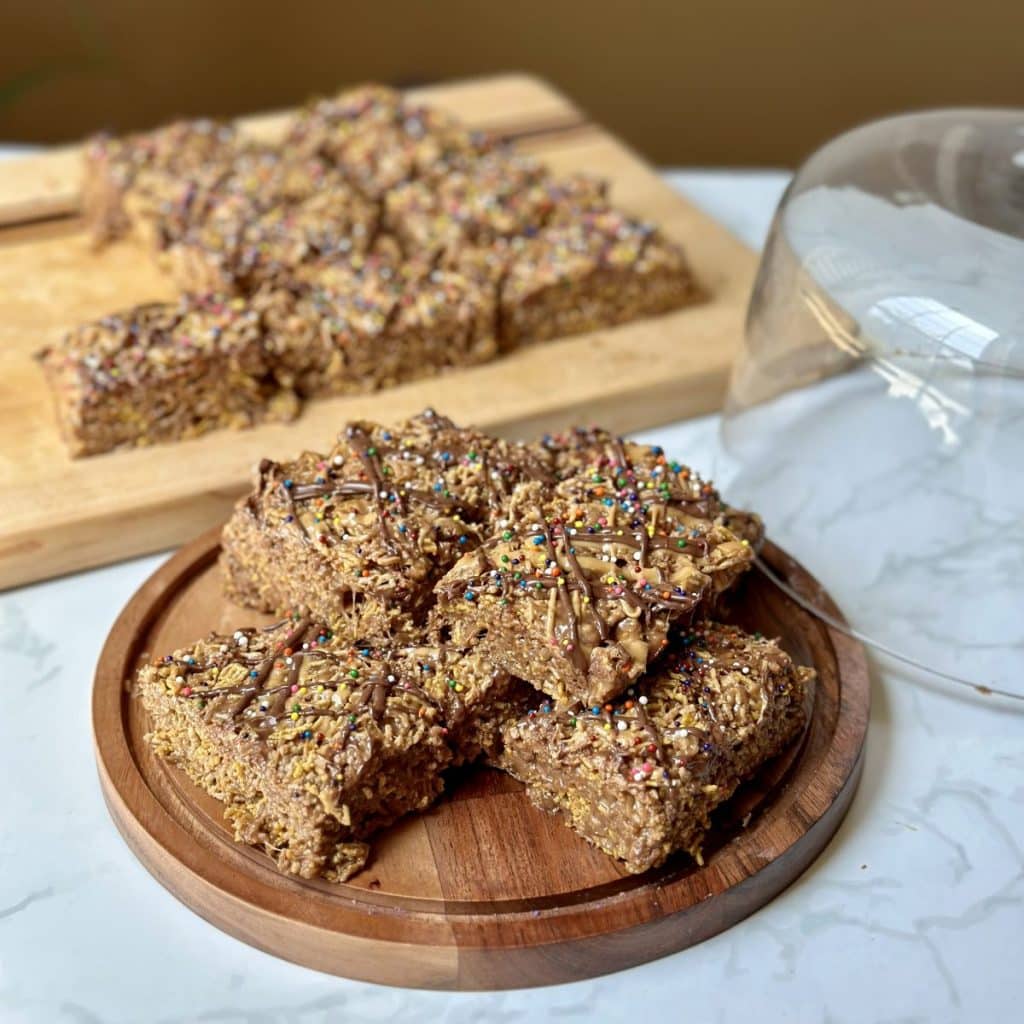
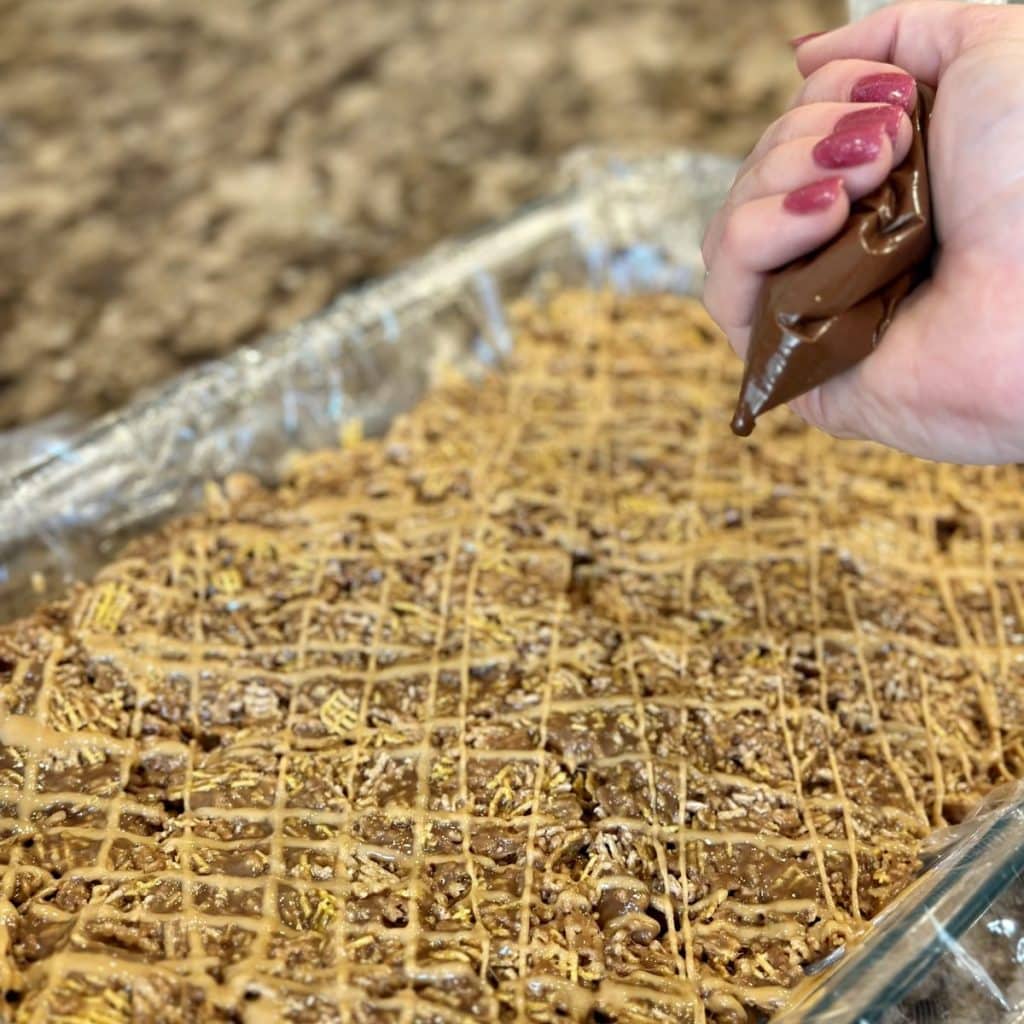
- Drizzle the top with slightly warmed peanut butter and melted chocolate. If you’d like, sprinkle with seasonal sprinkles or other optional garnishes. Allow the mixture to cool completely before removing from the dish and slicing. This should take a minimum of 30 minutes to an hour.
Tips and Substitutions
- Ensure the heat is not too high when melting the butter and marshmallows. Too much heat can easily burn and can make the bars hard.
- Once the mixture is poured in the baking dish, don’t pat it down too tightly. Gently press until it forms the shape of the pan.
- The baking pan can be lined with plastic wrap or parchment paper for optimal removal ease. However, you can also butter the dish or spritz with nonstick spray for easier removal. These might add a slight flavor to the exterior of your peanut butter Rice Krispie treats.
- Feel free to use Rice Krispies, Cocoa Krispies or Rice Chex cereal rather than Crispix if preferred. I think the Crispix gives the bars an extra crunch.
- You can garnish the top of the treats however you'd like. You can add sprinkles, toasted coconut, diced peanut butter cups, flaky sea salt, chopped peanuts, melted white chocolate chips, peanut butter chips, semi-sweet chocolate chips, butterscotch chips or dark chocolate chips. You can also dye white chocolate for an added color effect.
- For best results for melting chocolate for the topping, place in a microwave-safe bowl and heat on medium power (50-70% power) in short intervals. Heat and in 30-second intervals, stirring in between each, until melted and smooth. If you need to thin the chocolate for a smoother consistency, you can add a small amount of vegetable oil, coconut oil, or clarified butter and stir until well combined.
- Along with a 13 by 9 inch pan, these crispy bars can also be made in a square pan. You can use either 2 8 by 8 inch or 2 9 by 9 inch pans. One for you and one to share!
Storage and Freezing
- Peanut Butter Hazelnut Cereal Treats can be stored in an airtight container at room temperature for up to 2 weeks.
- They can also be frozen for up to 3 months. They will need to completely thaw at room temperature before consuming. NOTE: they will likely be tougher than when they're made and eaten fresh.
- Do NOT store the bars in the fridge, this will make them hard.
Frequently Asked Questions
Chex Cereal or Rice Krispies can be used in place of Crispix for these sweet treats.
It’s best to use creamy peanut butter for this gooey treat. If using crunchy, you’ll need to add 2-3 tablespoons more butter.
Yes, but you might need to add 2-3 additional tablespoons of butter and the end product will be slightly less sweet.
Of course! You can substitute the peanut butter with your nut butter of choice. You can add additional butter if the variety you’re using is drier than store-bought jar of smooth peanut butter.
Yes, you can substitute the marshmallows with 26 ounces marshmallow creme.
The ingredients I used as pictured above in “What You’ll Need” are not gluten-free, but you can easily make swaps to make this recipe gluten-free.
You can use gluten-free Jif and rice or corn Chex instead of Crispix. Although the package doesn’t say gluten-free, Kraft Jet-Puffed marshmallows ingredient list does not list anything that contains gluten. Check the labels of your specific brands to ensure this.
They can be frozen for up to 3 months. They will need to completely thaw at room temperature before consuming. NOTE: They will likely be tougher than when they're made and eaten fresh.
Overmixing the mixture can result in a denser and harder texture. If the marshmallows are overheated during melting, they can become too stiff when they cool. Marshmallows that are old or stale can lead to harder treats. Make sure you use fresh marshmallows. Pressing the mixture too firmly into the pan can compact the treats too much. Not using the right ingredient amounts are making substitutions can also result in tougher treats.
More Sweet Snack Recipes:
- Chocolate Peanut Butter No Bake Cookies
- Holiday Praline Crunch
- Chewy Oatmeal Raisin Cookies
- Turtle Cake
- Scotcharoos
Chocolate Peanut Butter Rice Krispie Treats (with Nutella)
Ingredients
- ½ cup butter
- 16 ounces marshmallows
- ⅔ cup creamy peanut butter plus 2 tablespoon for garnish
- ⅓ cup hazelnut spread
- 9 cups Crispix, Rice Krispies or Chex Rice cereal
- 2 tablespoons melted chocolate
Instructions
- Line a 9”x13” dish with cling wrap or parchment paper paper.
- In a large skillet, melt butter over medium heat. Once melted, add mini marshmallows and stir until melted and smooth.
- Turn off the heat. Fold the peanut butter and the hazelnut spread into the marshmallow mixture, making sure to scrape from the bottom of the pan. Once combined, gently fold the cereal into the peanut butter mixture until all the pieces are coated.
- Transfer the mixture to the prepared pan, and lightly press in an even layer.
- Drizzle the top with slightly warmed peanut butter and melted chocolate. If you’d like, sprinkle with seasonal sprinkles or other optional garnishes.
- Allow the treats to cool completely before removing from the dish and slicing. This should take a minimum of 30 minutes to an hour.
Video
Notes
Tips and Substitutions
- Ensure the heat is not too high when melting the butter and marshmallows. Too much heat can easily burn and can make the bars hard.
- Once the mixture is poured in the baking dish, don’t pat it down too tightly. Gently press until it forms the shape of the pan.
- The baking pan can be lined with plastic wrap or parchment paper for optimal removal ease. However, you can also butter the dish or spritz with nonstick spray for easier removal. These might add a slight flavor to the exterior of your peanut butter Rice Krispie treats.
- Feel free to use Rice Krispies, Cocoa Krispies or Rice Chex cereal rather than Crispix if preferred. I think the Crispix gives the bars an extra crunch.
- You can garnish the top of the treats however you'd like. You can add sprinkles, toasted coconut, diced peanut butter cups, flaky sea salt, chopped peanuts, melted white chocolate chips, peanut butter chips, semi-sweet chocolate chips, butterscotch chips or dark chocolate chips. You can also dye white chocolate for an added color effect.
- For best results for melting chocolate for the topping, place in a microwave-safe bowl and heat on medium power (50-70% power) in short intervals. Heat and in 30-second intervals, stirring in between each, until melted and smooth. If you need to thin the chocolate for a smoother consistency, you can add a small amount of vegetable oil, coconut oil, or clarified butter and stir until well combined.
- Along with a 13 by 9 inch pan, these crispy bars can also be made in a square pan. You can use either 2 8 by 8 inch or 2 9 by 9 inch pans. One for you and one to share!




Phyllis Dennis
These treats were definitely a treat when we came to your house! I need to make these at home!
Laura Ashley
I’m so happy y’all liked them too!🥹
Clara Collins
This is AMAZING!!!
Laura Ashley
😁Thank you so much!!
Nancy Allen
My Sunday School class will love these and I cannot wait to share them with the group this weekend!
Laura Ashley
Aww!! That makes my heart so happy! Thank you so much! I know they’ll be a hit!
Phyllis Dennis
Love these! They are so yummy!
Laura Ashley
Thank you so much!!😁💕
Melinda
My son loved these!
Laura Ashley
That’s wonderful! So happy they were a hit! Thank you!
Elaine Cope
Oh, my. These are so good! Thanks for sharing your recipes. I have added quite a few to my rotation.
Laura Ashley
That is wonderful!! Thank you so much, Elaine!😁
Jennifer Hill
I love all your recipes! Keep them coming!
Laura Ashley
Thank you so much!! That means so much to me!😁
Phyllis Dennis
These are such a delicious treat!
Laura Ashley
Thank you SO much!!!